Sub-Processors
Authored by Paul Davies · Updated
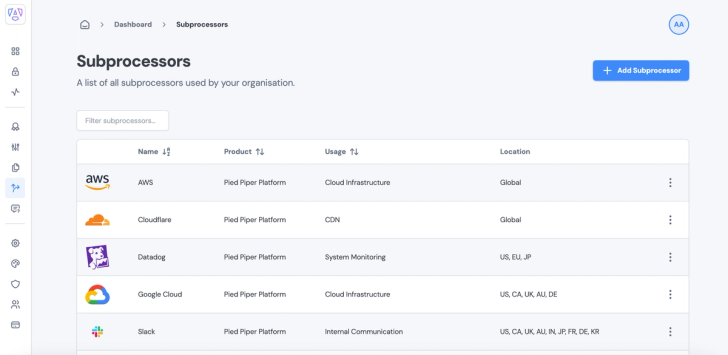
Adding Sub-Processors
- To add a new Sub-Processor select the button + Add Sub-Processor
- This will open up a modal form, where you can fill in all of the details of your Sub-Processor.
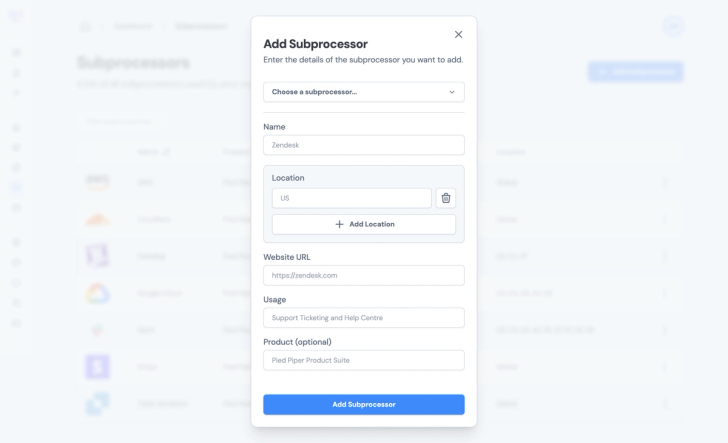
- You have options when completing the form:
- Manually entering information
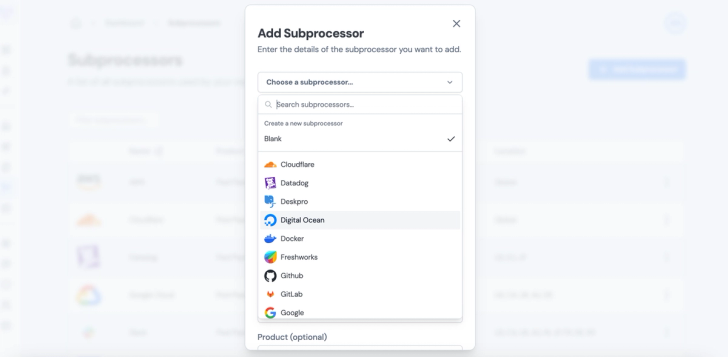
- OR Selecting the Sub-Processor from the pre-defined list (see below), that will auto-fill the Sub-Processor for you.
- In order to be compliant with certain regulations (such as GDPR), you will need to fill out all of the information including Name, Location, URL, Usage.
- Note: You can add multiple locations for Sub-Processors. e.g. US and EU hosting.
- Once complete, select Add Sub-Processor to save.
Editing Sub-Processors
- To edit a Sub-Processor, on the right-hand side of the Sub-Processor, select the ⋮ menu.
- This will open up a modal, to be edited, as required.
- Once you have made the changes, select Edit Sub-Processors to save changes.